Summary
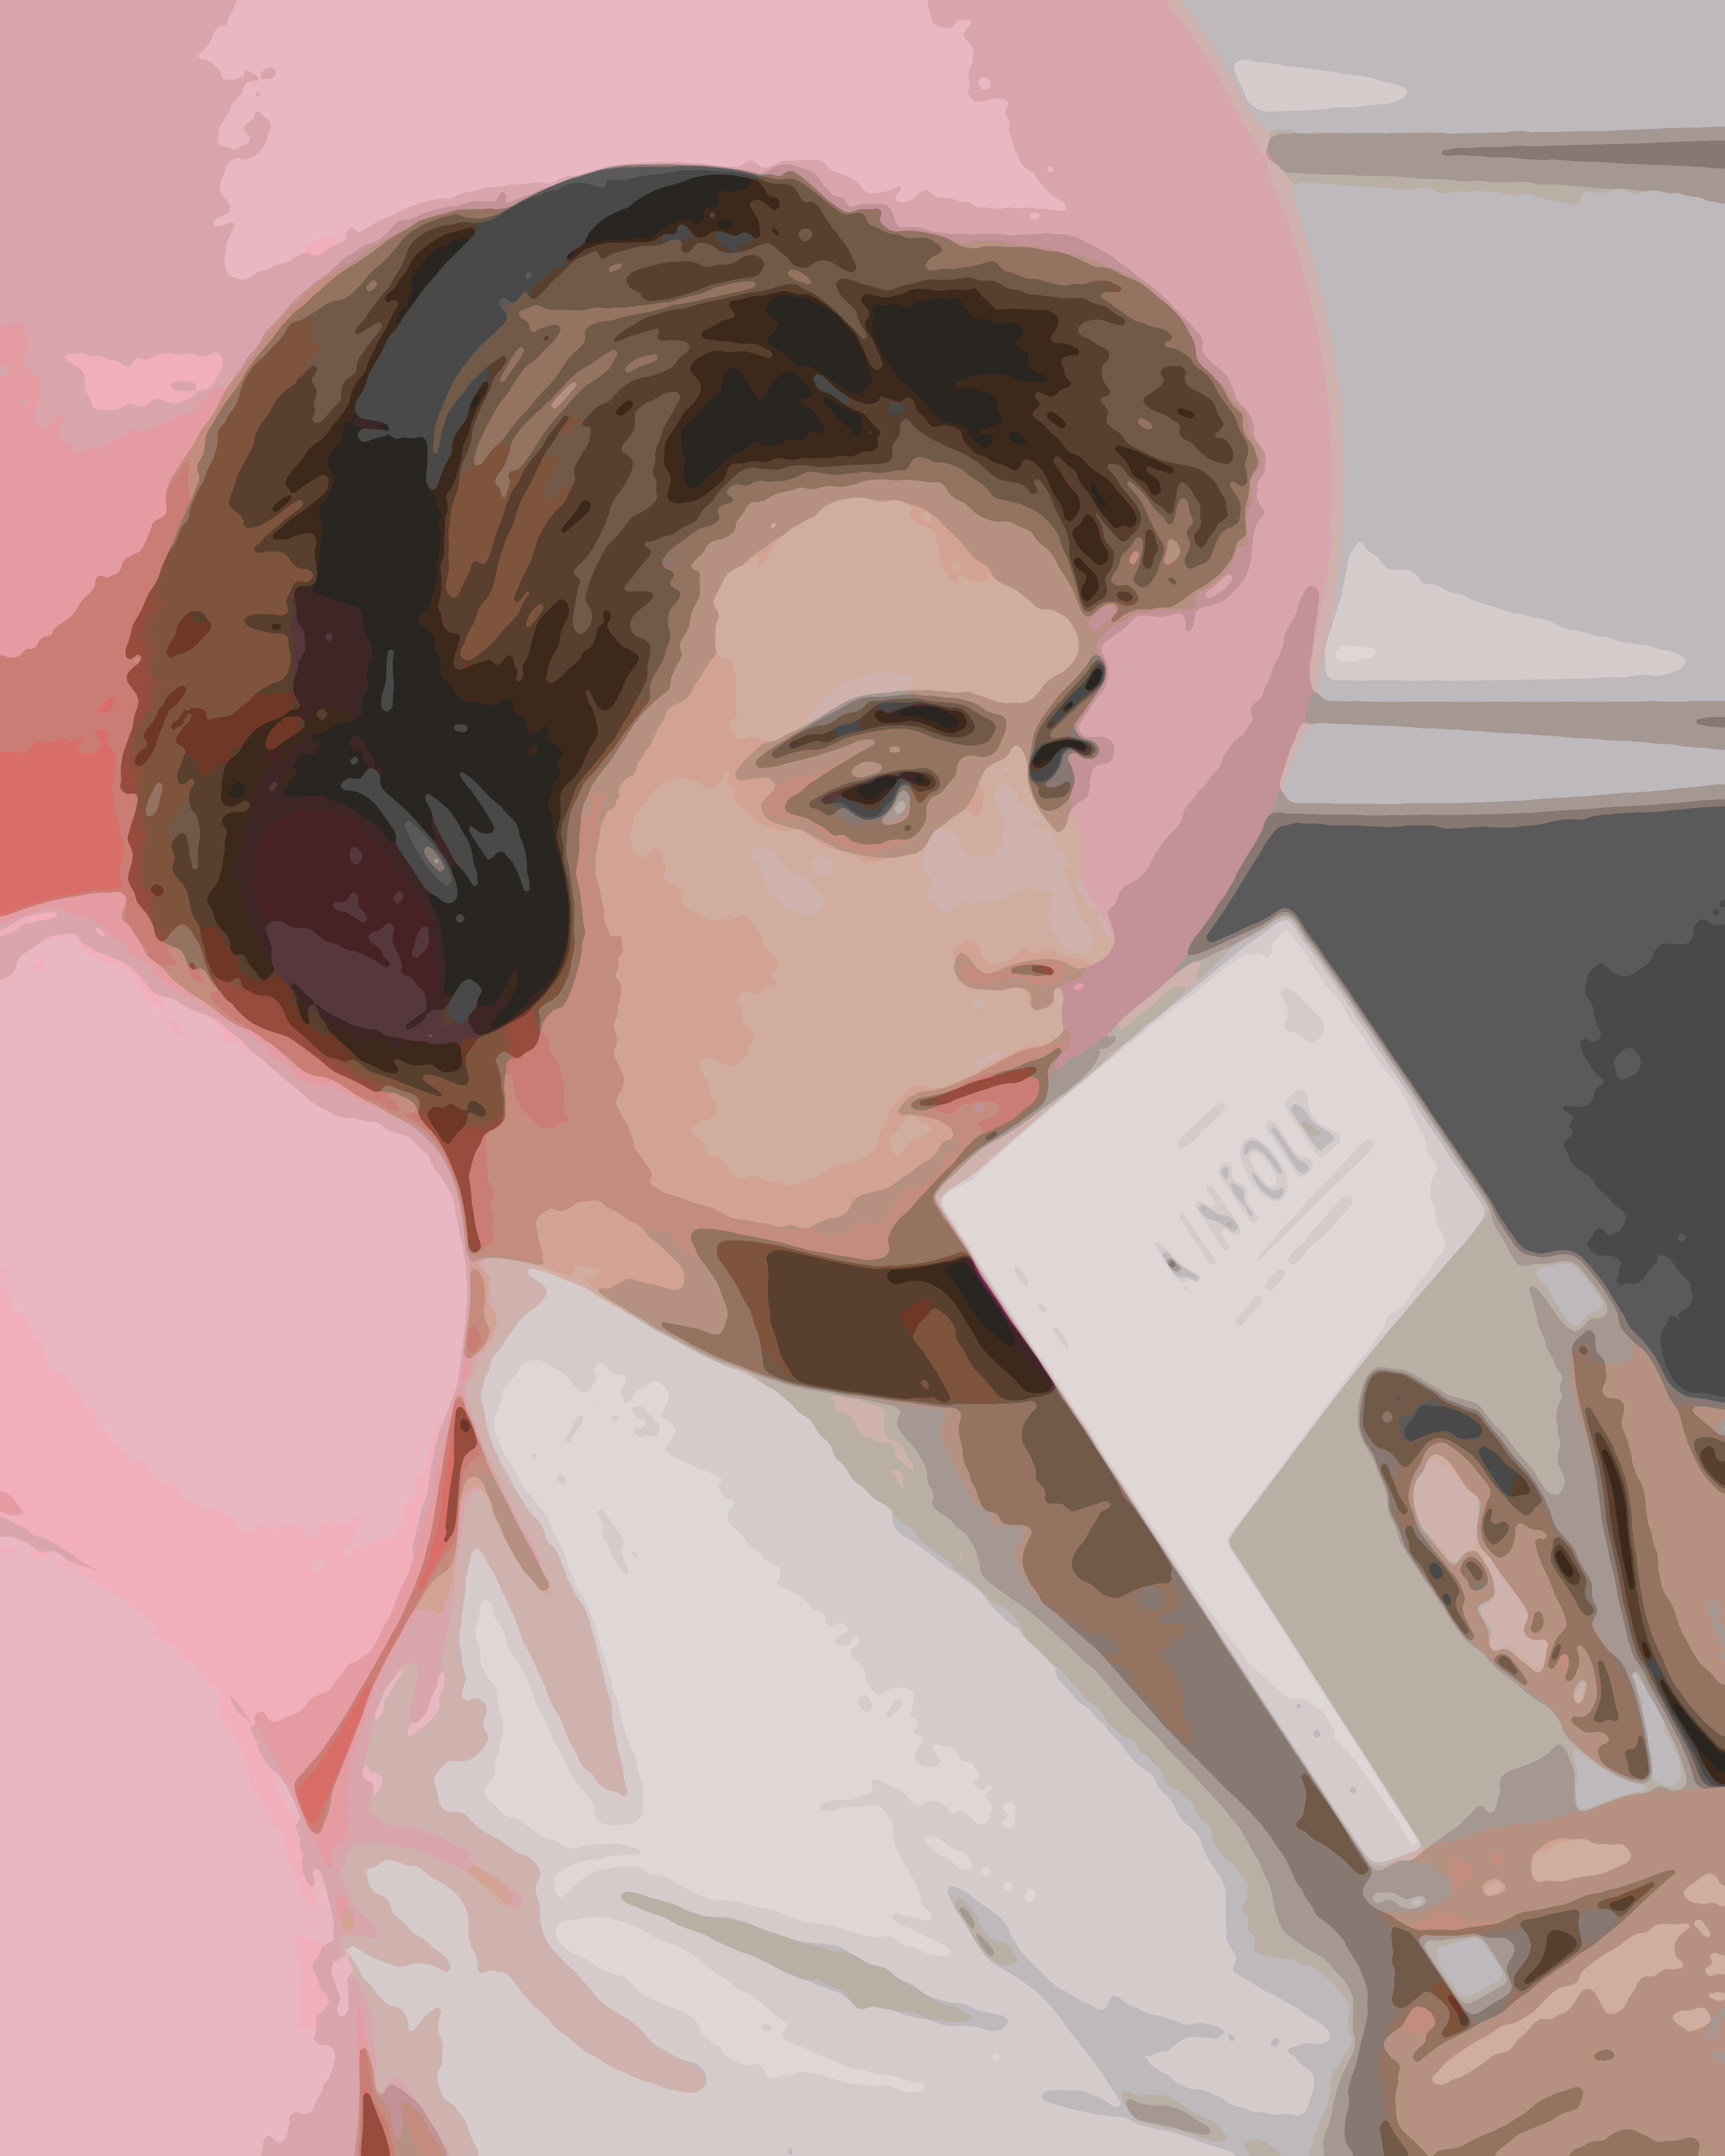
By removing details and reducing colours, you can create a vector graphic from a photo. The modified image is then traced by colours. The result is a scalable SVG image. In this article, a full colour image is converted to 32 colours.

The process is:
- Removing details (GIMP)
- Reducing colours (GIMP)
- Exporting the modified image (GIMP)
- Create paths by tracing colours (inkscape)
The generated SVG image can be used, for example, in other designs, or prints.
Requirements
- GIMP (without third-party plug-ins, or filters)
- inkscape
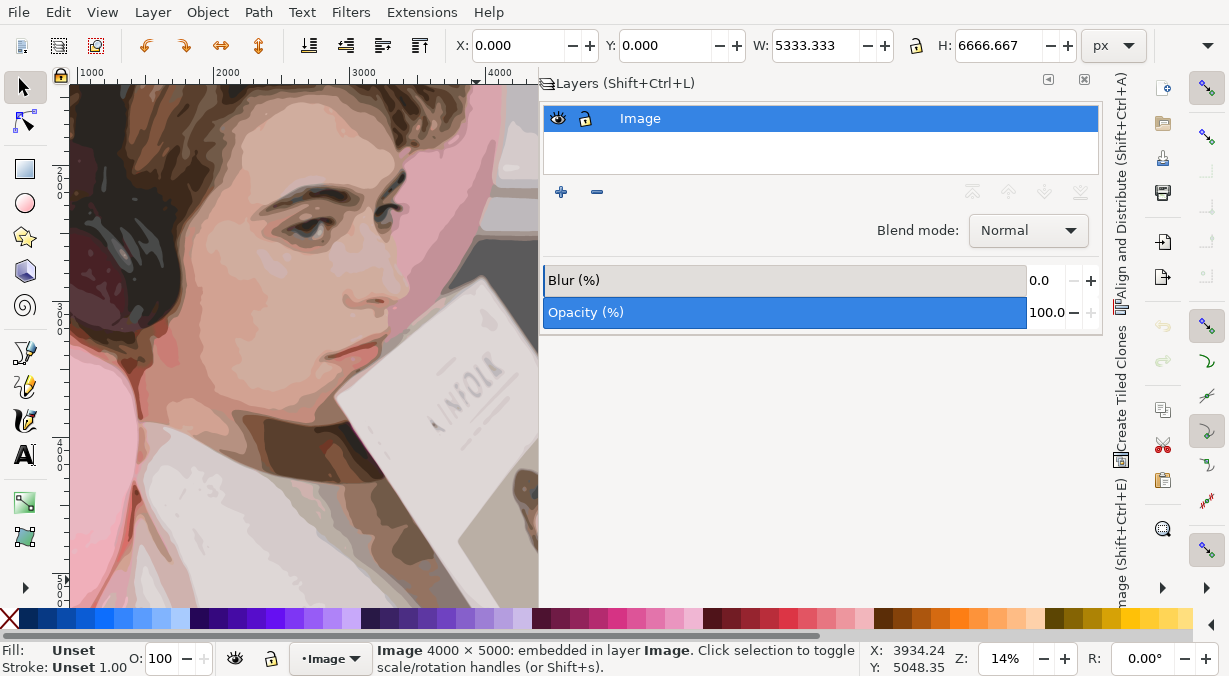
Opening the file
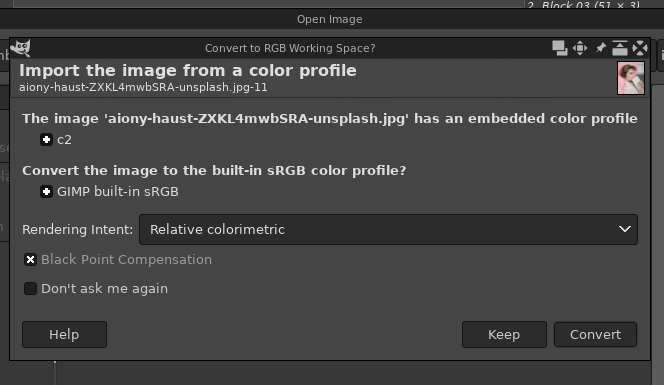
Download the original file. Launch GIMP, and open it by File -> Open. As the file has embedded color profile, GIMP asks you to convert or keep the color profile. If you don’t know what the color profile is, simply choose Convert with default options.
Color profiles are used for displaying same colours in different output devices. See Color management article on Wikipedia for details.
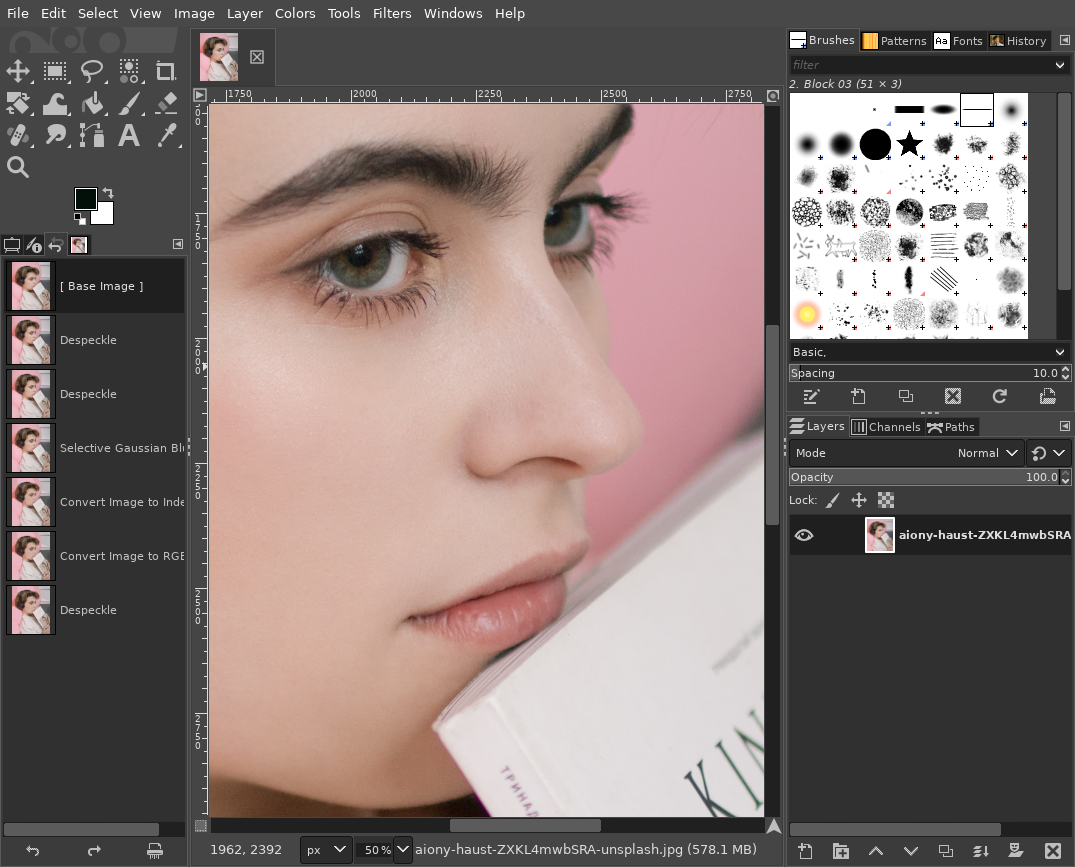
Removing details
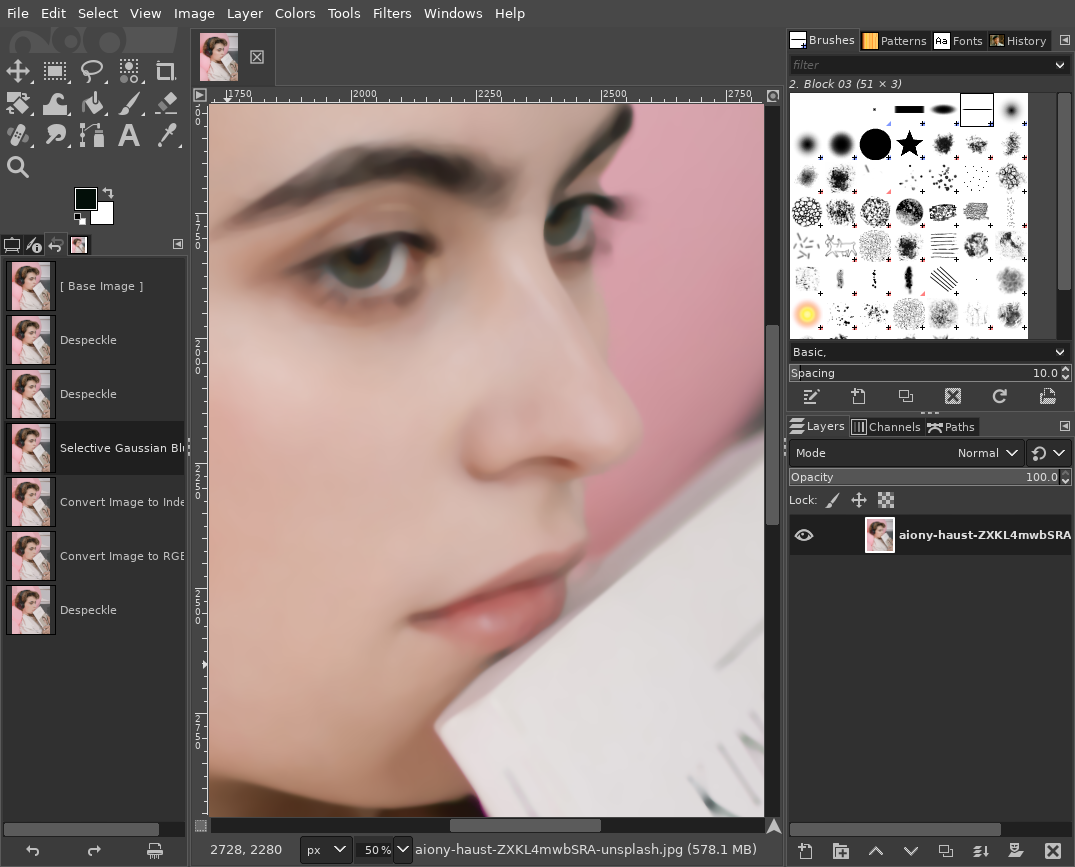
Select Filter > Enhance > Despeckle. In the dialog, make sure adaptive is unticked.
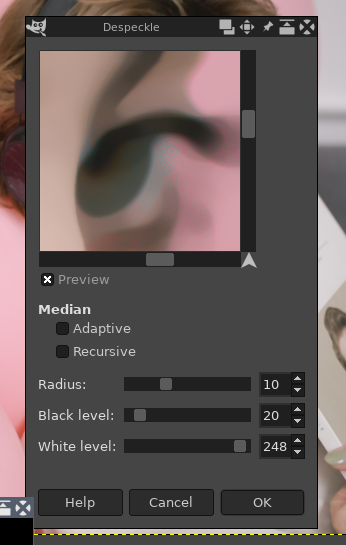
The image becomes blurred a bit.

Select Filter > Blur > Selective Gaussian Blur. Accept all defaults, and click OK to apply.
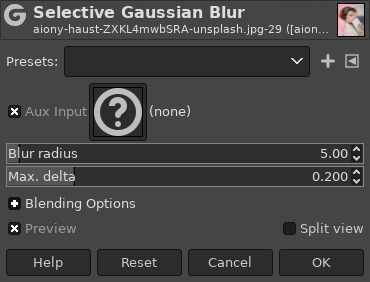
Details has been removed from the image.
Reducing colors
Select Image > Mode > Indexed. In the dialog, select Generate optimum palette, choose 32 in Maximum numbers of colors. Click Convert to apply.
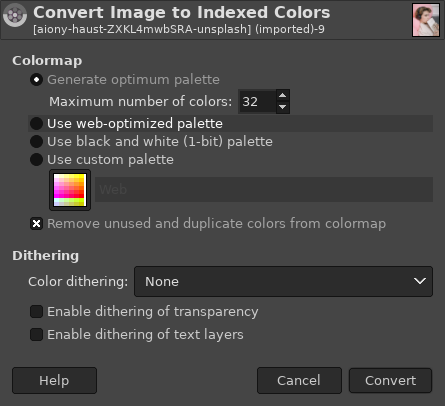
Now the image has 32 colours.

Back to RGB mode by selecting Image > Mode > RGB.
Optionally, you may smooth outlines further again by Filter > Enhance > Despeckle. In the dialog, make sure adaptive is unticked.

Exporting the modified image
The original image is JPEG, but the modified image has reduced numbers of colours. For that reason, the image should be exported in PNG format, not JPEG. Otherwise, JPEG would introduce block noise, or compression artifact.
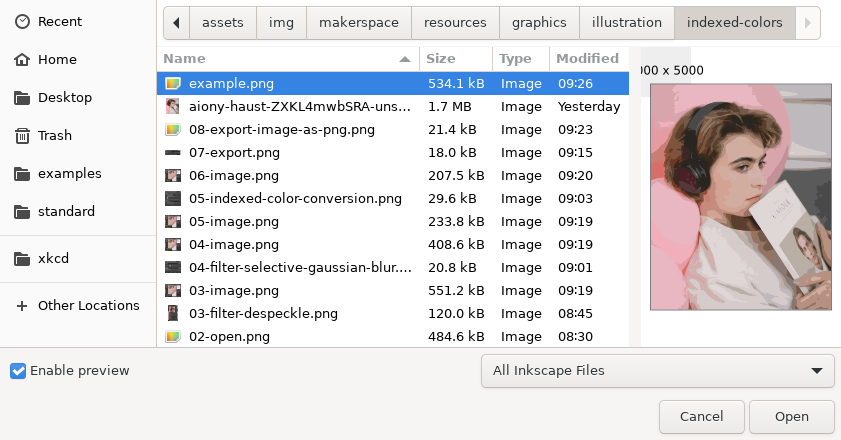
Export the modified image by File > Export As .... Choose a name of the file, such as example.png.
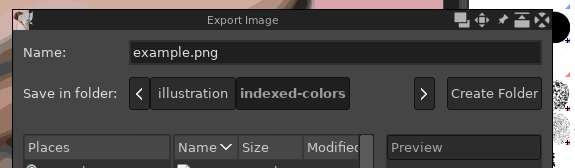
In Export Image as PNG dialog, accept all the defaults by clicking Export.

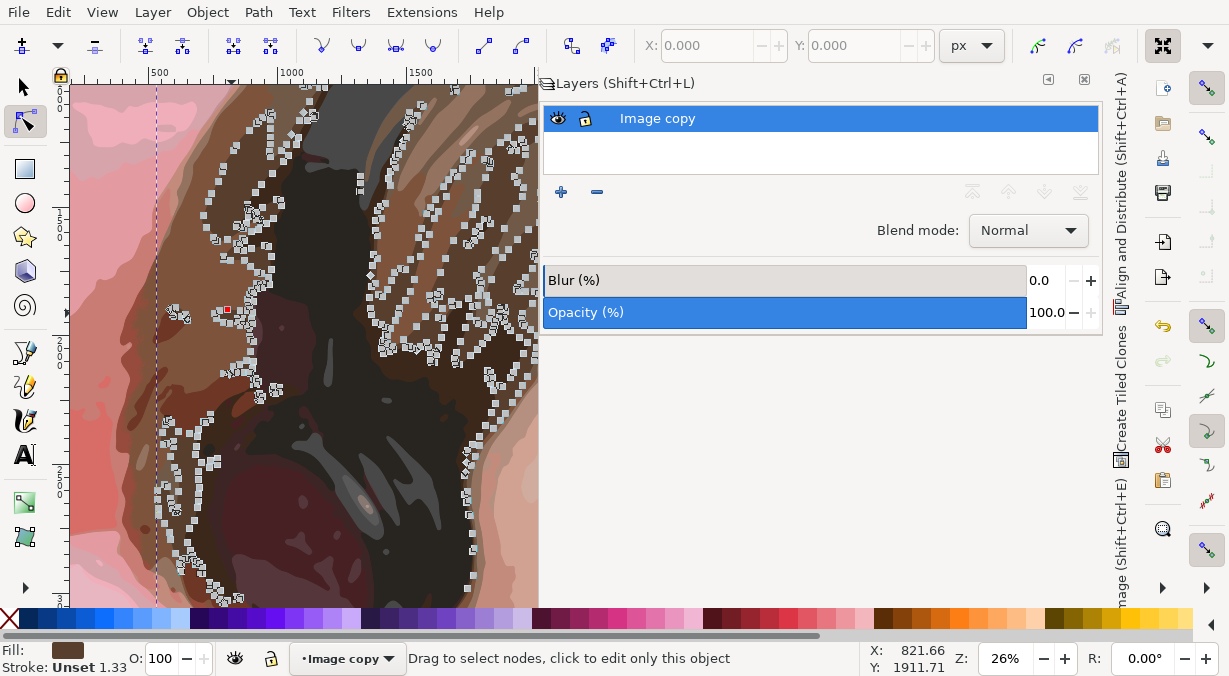
Create paths by tracing colours
Launch inkscape. Import the PNG file by File > Open.
Select Path > Trace Bitmaps. On Trace bitmaps tab, select Multiple scans and Colors, and increase Scans to 32. To see the preview, click the window in which the image is shown. Click OK to apply the change.


With Edit paths by nodes tool, you can see the generated paths.
Further improvements
You may fine-tune the image by the followings:
- Reduce or increase the number of colours
- Manually remove details
- Choose different parameters in filter options instead of accepting defaults
Files
Here is the list of files used in the article.
- example.xcf, GIMP file
- example.png, exported
PNGfile - example.svg,
SVGfile